DIY Tips for Building a Portable Garden Shed: A Step-by-Step Guide
Introduction to Portable Garden Sheds
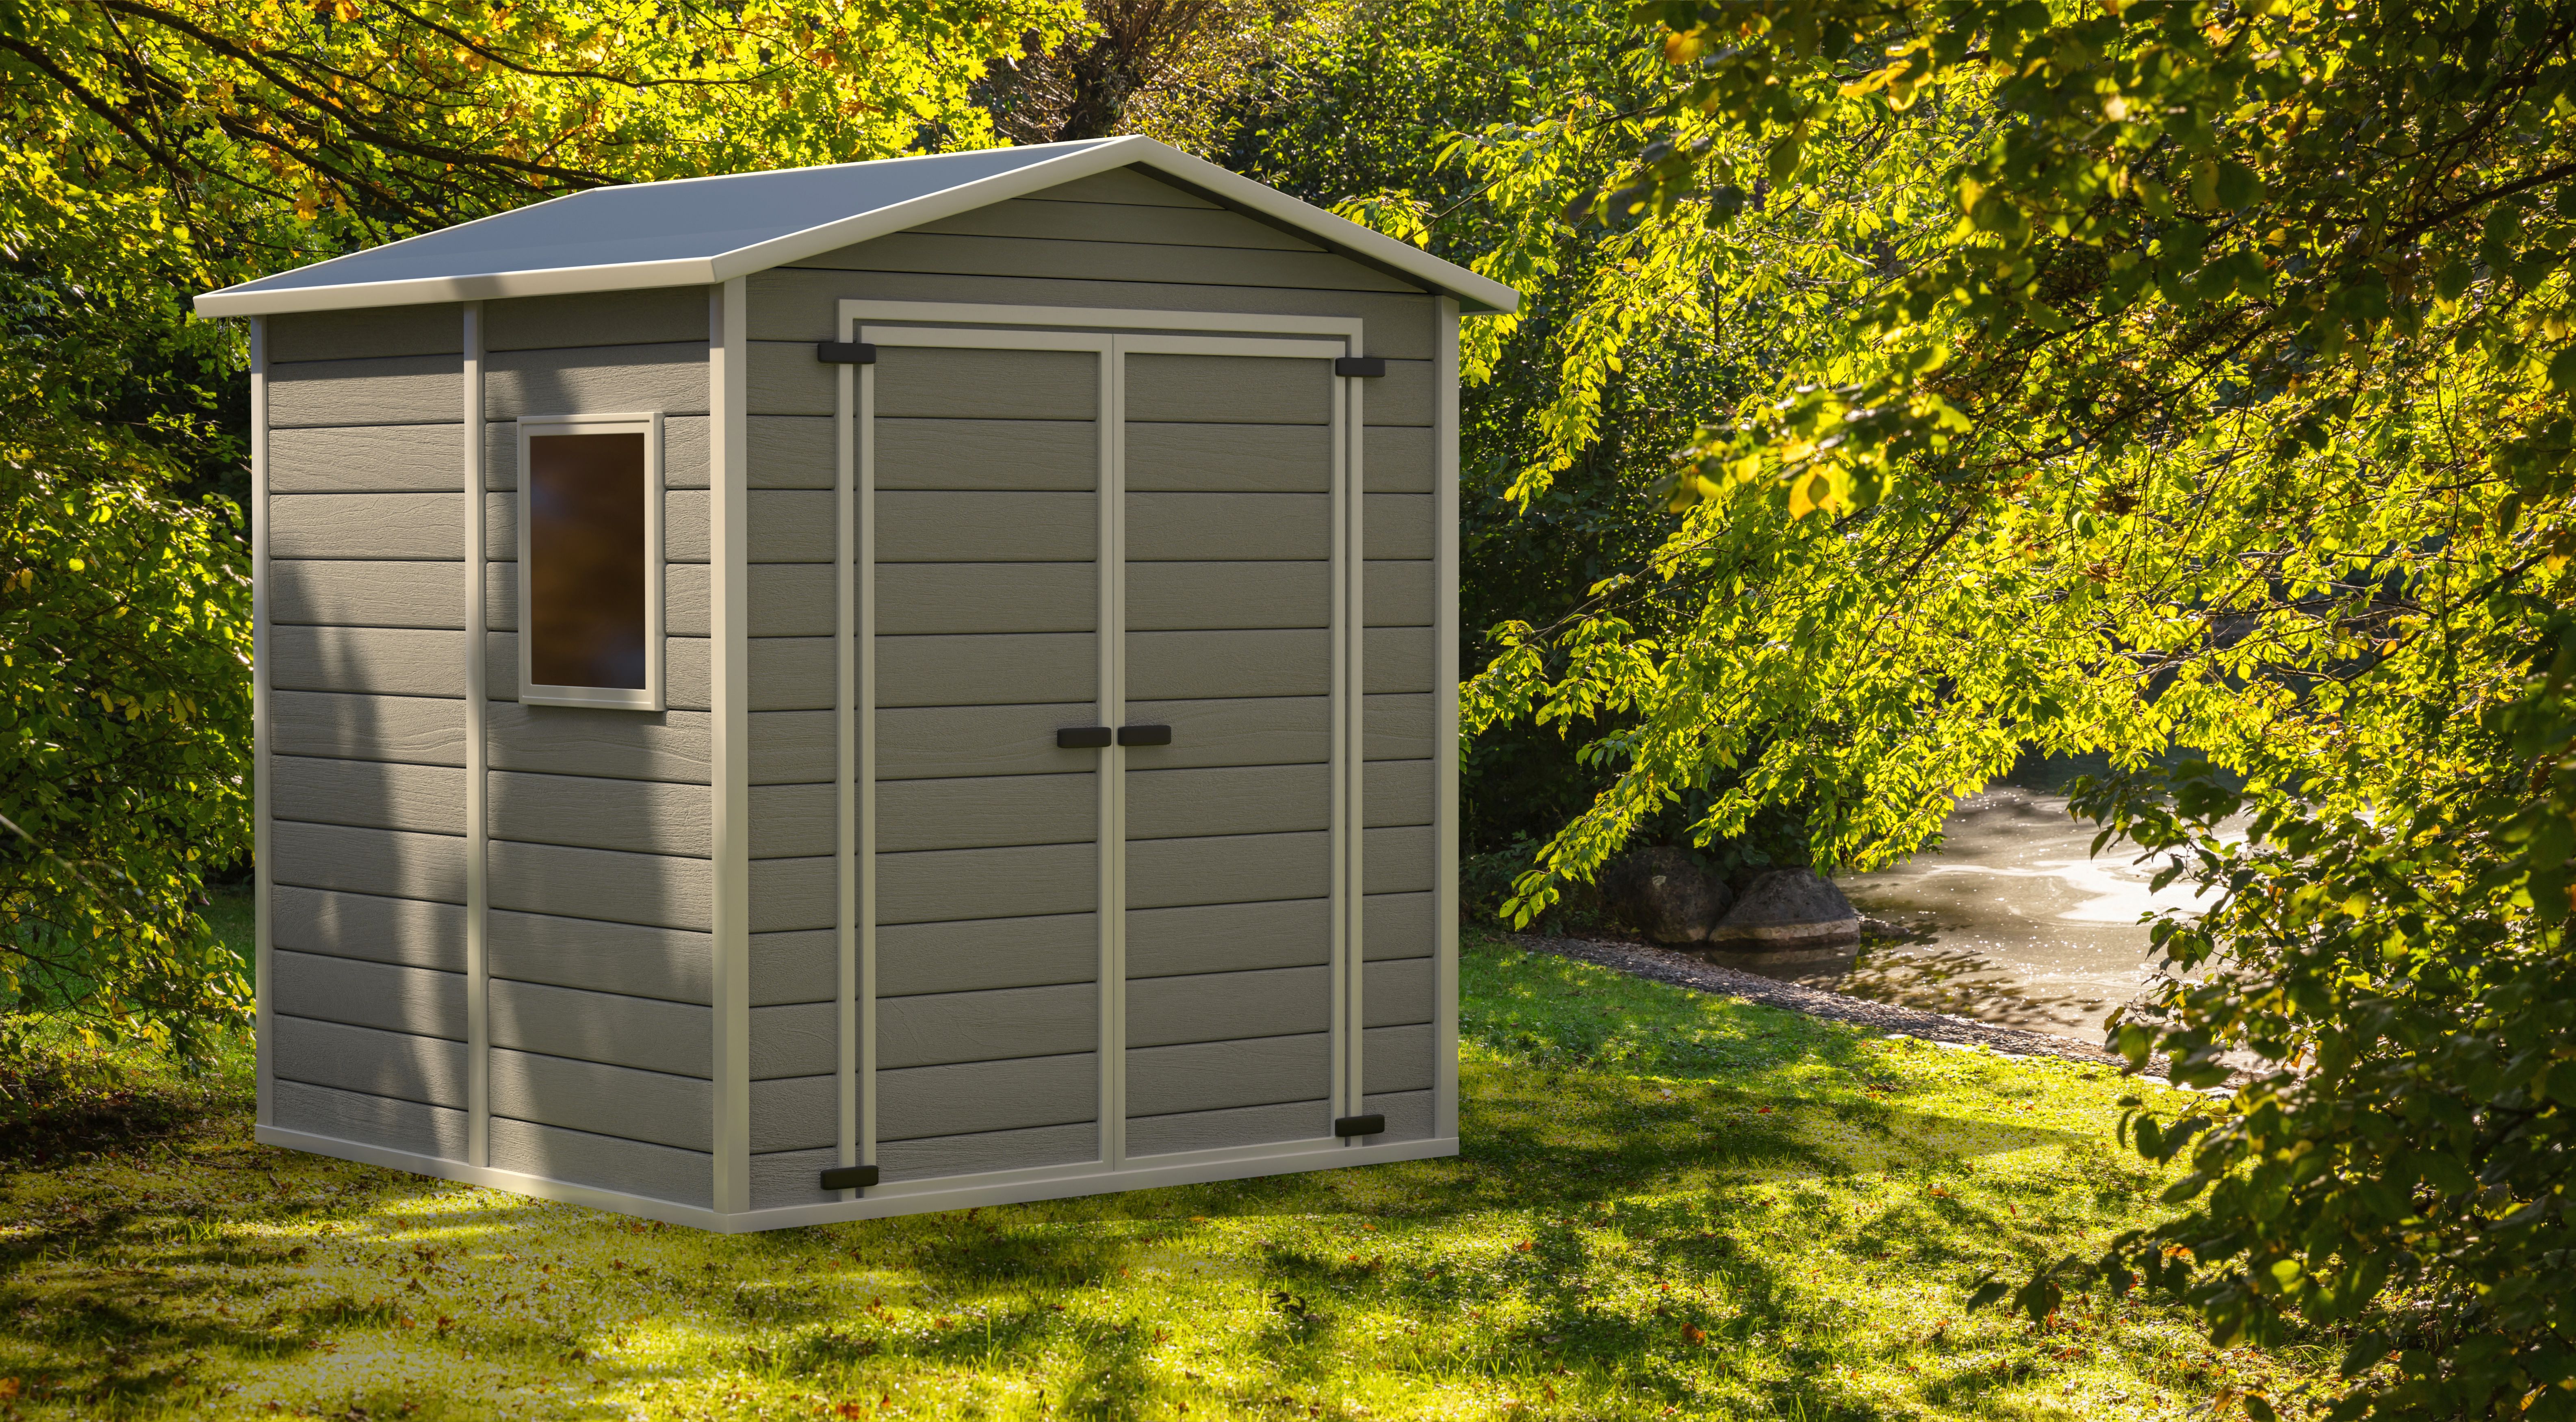
If you're a gardening enthusiast or simply need extra storage, a portable garden shed can be an excellent addition to your backyard. Not only do these sheds provide much-needed space for tools and equipment, but they also offer flexibility in terms of placement and design. Building a portable garden shed may seem daunting, but with some DIY skills and the right materials, you can create a functional and attractive structure.
Planning Your Portable Garden Shed
The first step in building a portable garden shed is thorough planning. Consider the size and style that will best suit your needs and the available space in your yard. It's essential to check local building regulations to ensure compliance with any restrictions. Additionally, think about the materials you want to use; wood is a popular choice for its natural look, but metal or plastic can offer durability and low maintenance.
Once you've decided on these factors, draw up a plan or blueprint of your garden shed. This will help you visualize the project and determine the amount of materials required. A detailed plan also serves as a roadmap throughout the construction process, minimizing potential errors.
Gathering Materials and Tools
With your plan in hand, it's time to gather the necessary materials and tools. Here's a general list of what you might need:
- Lumber or metal sheeting
- Nails, screws, and brackets
- Hammer, drill, and saw
- Level and measuring tape
- Paint or wood sealant for protection
Make sure you have all the tools ready before starting to avoid unnecessary delays.
Building the Foundation
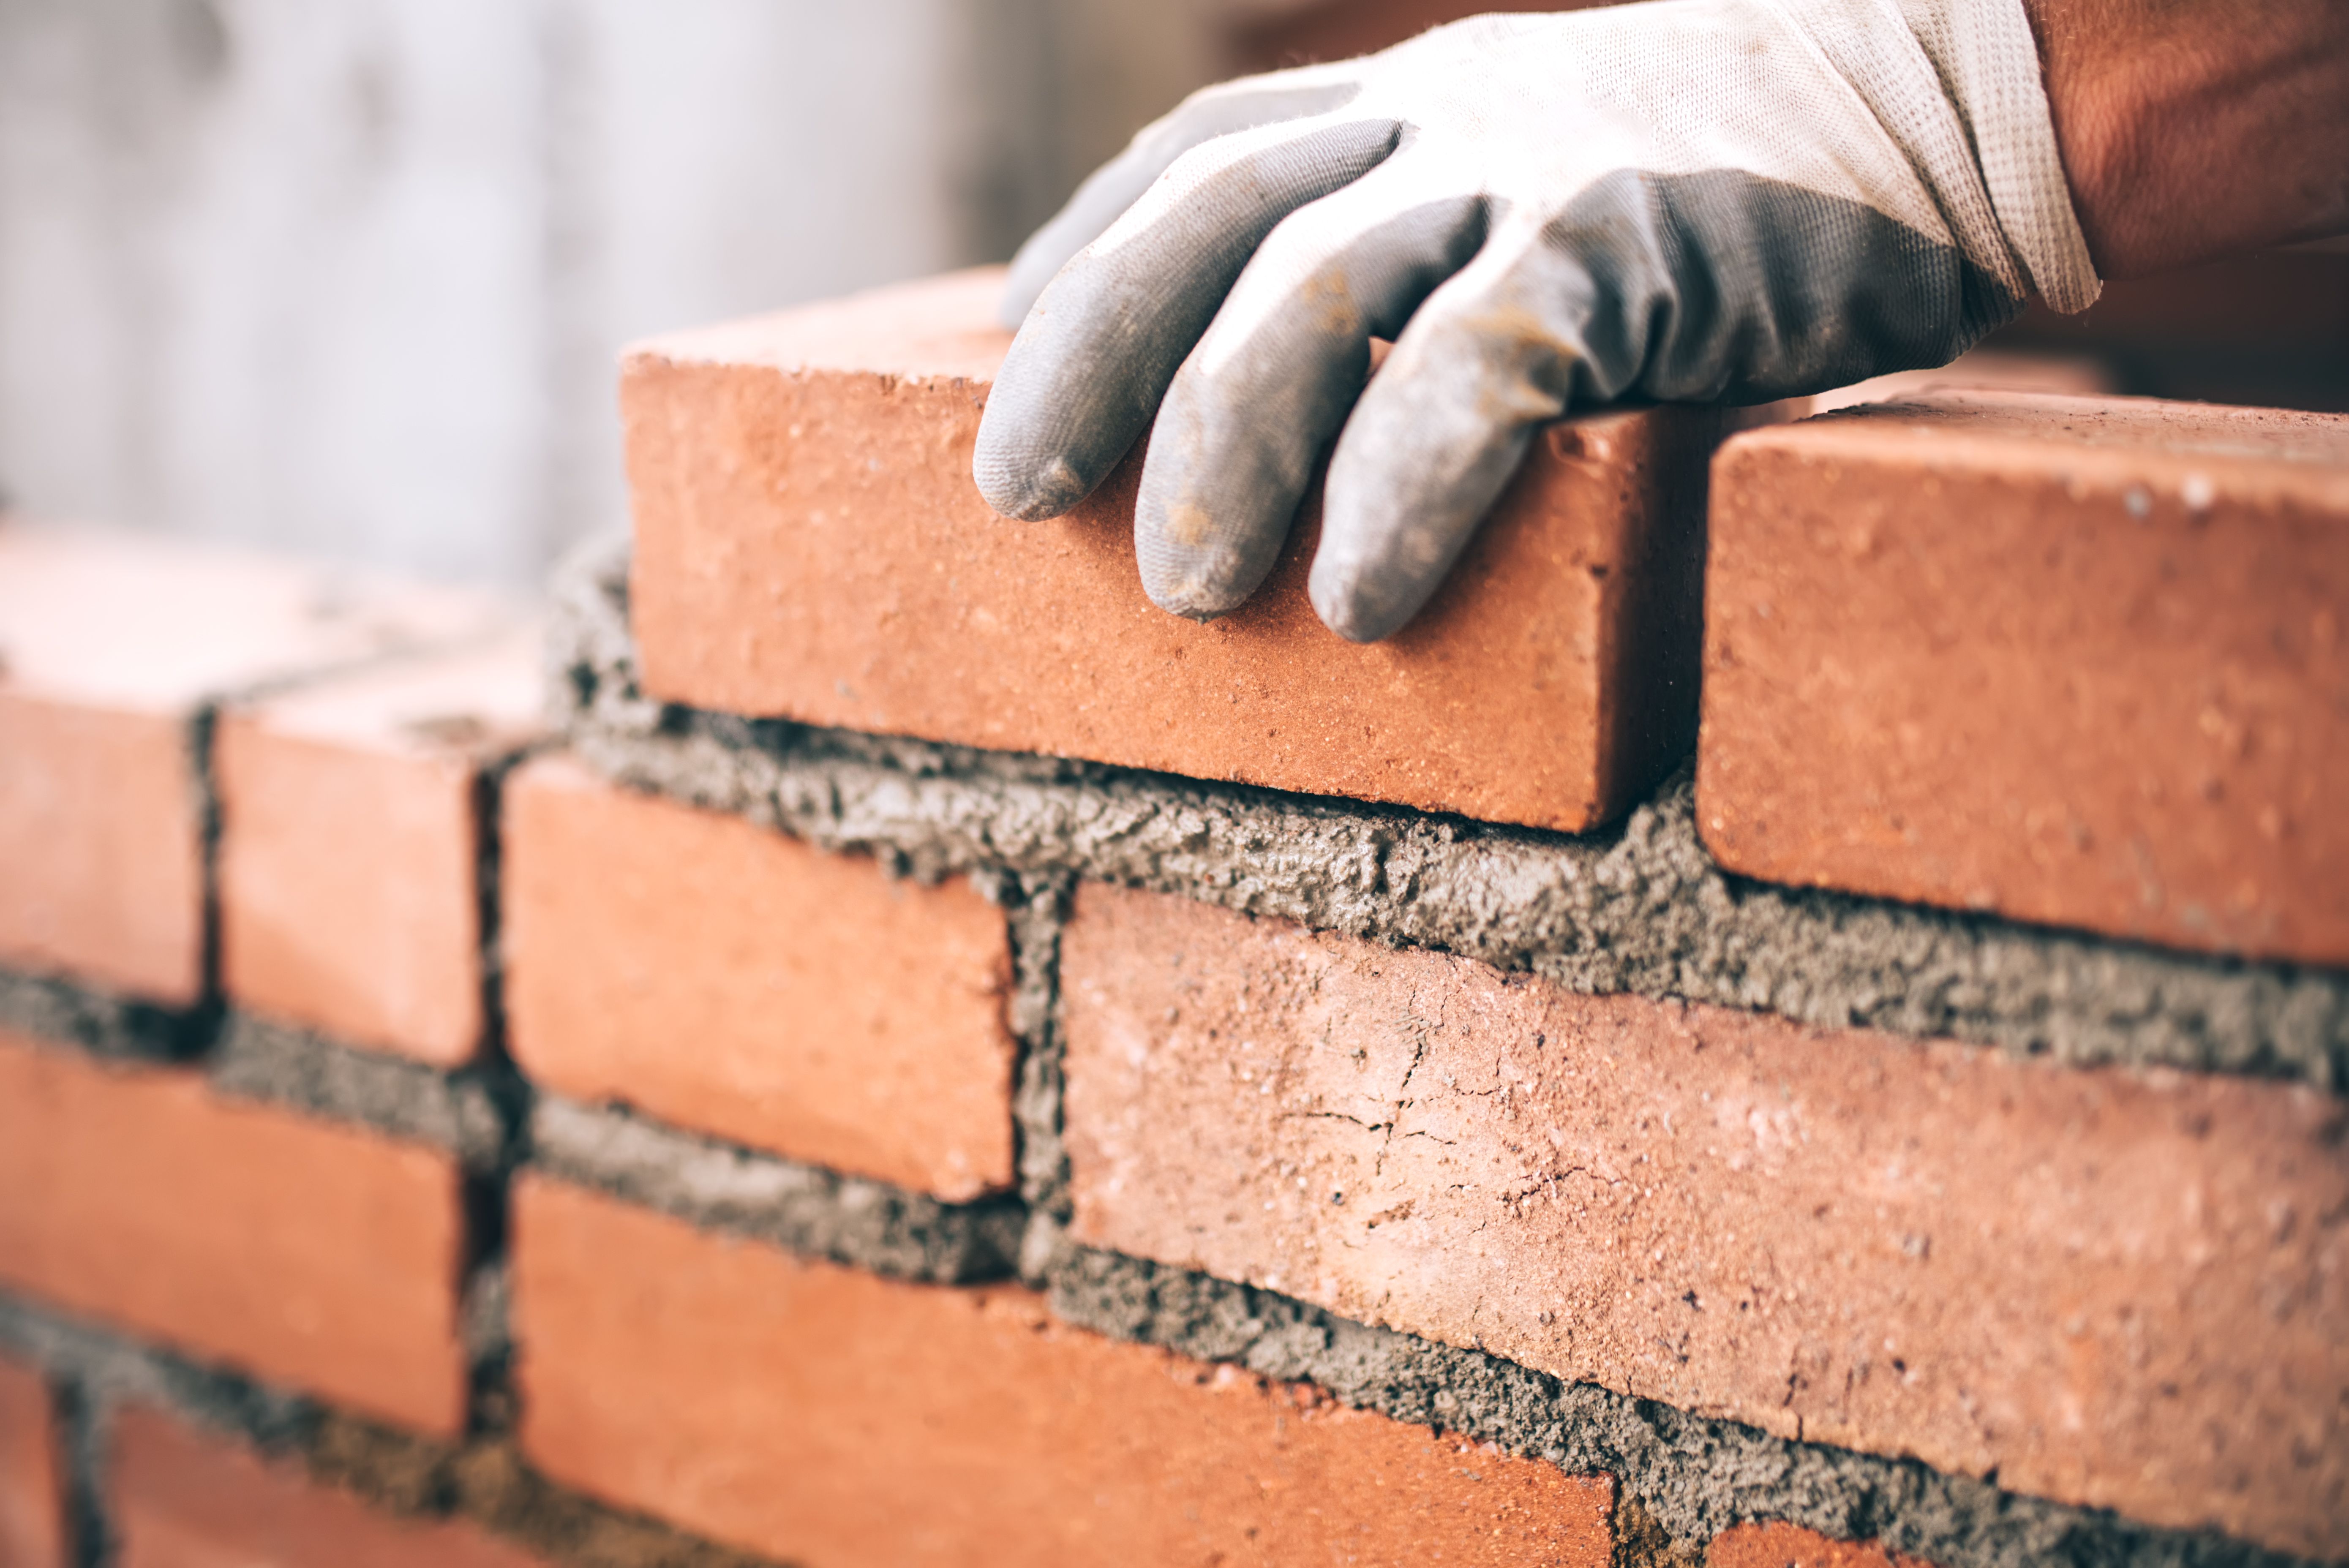
The foundation is a critical component of your portable garden shed, providing stability and support. Depending on your preference and budget, you can choose between a concrete slab or a wooden foundation. For a portable shed, a wooden foundation might be more suitable due to its lighter weight and ease of relocation.
Ensure the ground is level before laying the foundation. Use a level and measure carefully to guarantee accuracy. A strong foundation will keep your shed sturdy against weather conditions.
Constructing the Frame
Once the foundation is in place, you can begin constructing the frame. Start by building the floor frame using joists and secure them with screws. Next, assemble the wall frames separately before standing them up one by one. This method simplifies the construction process and ensures each wall is uniform.
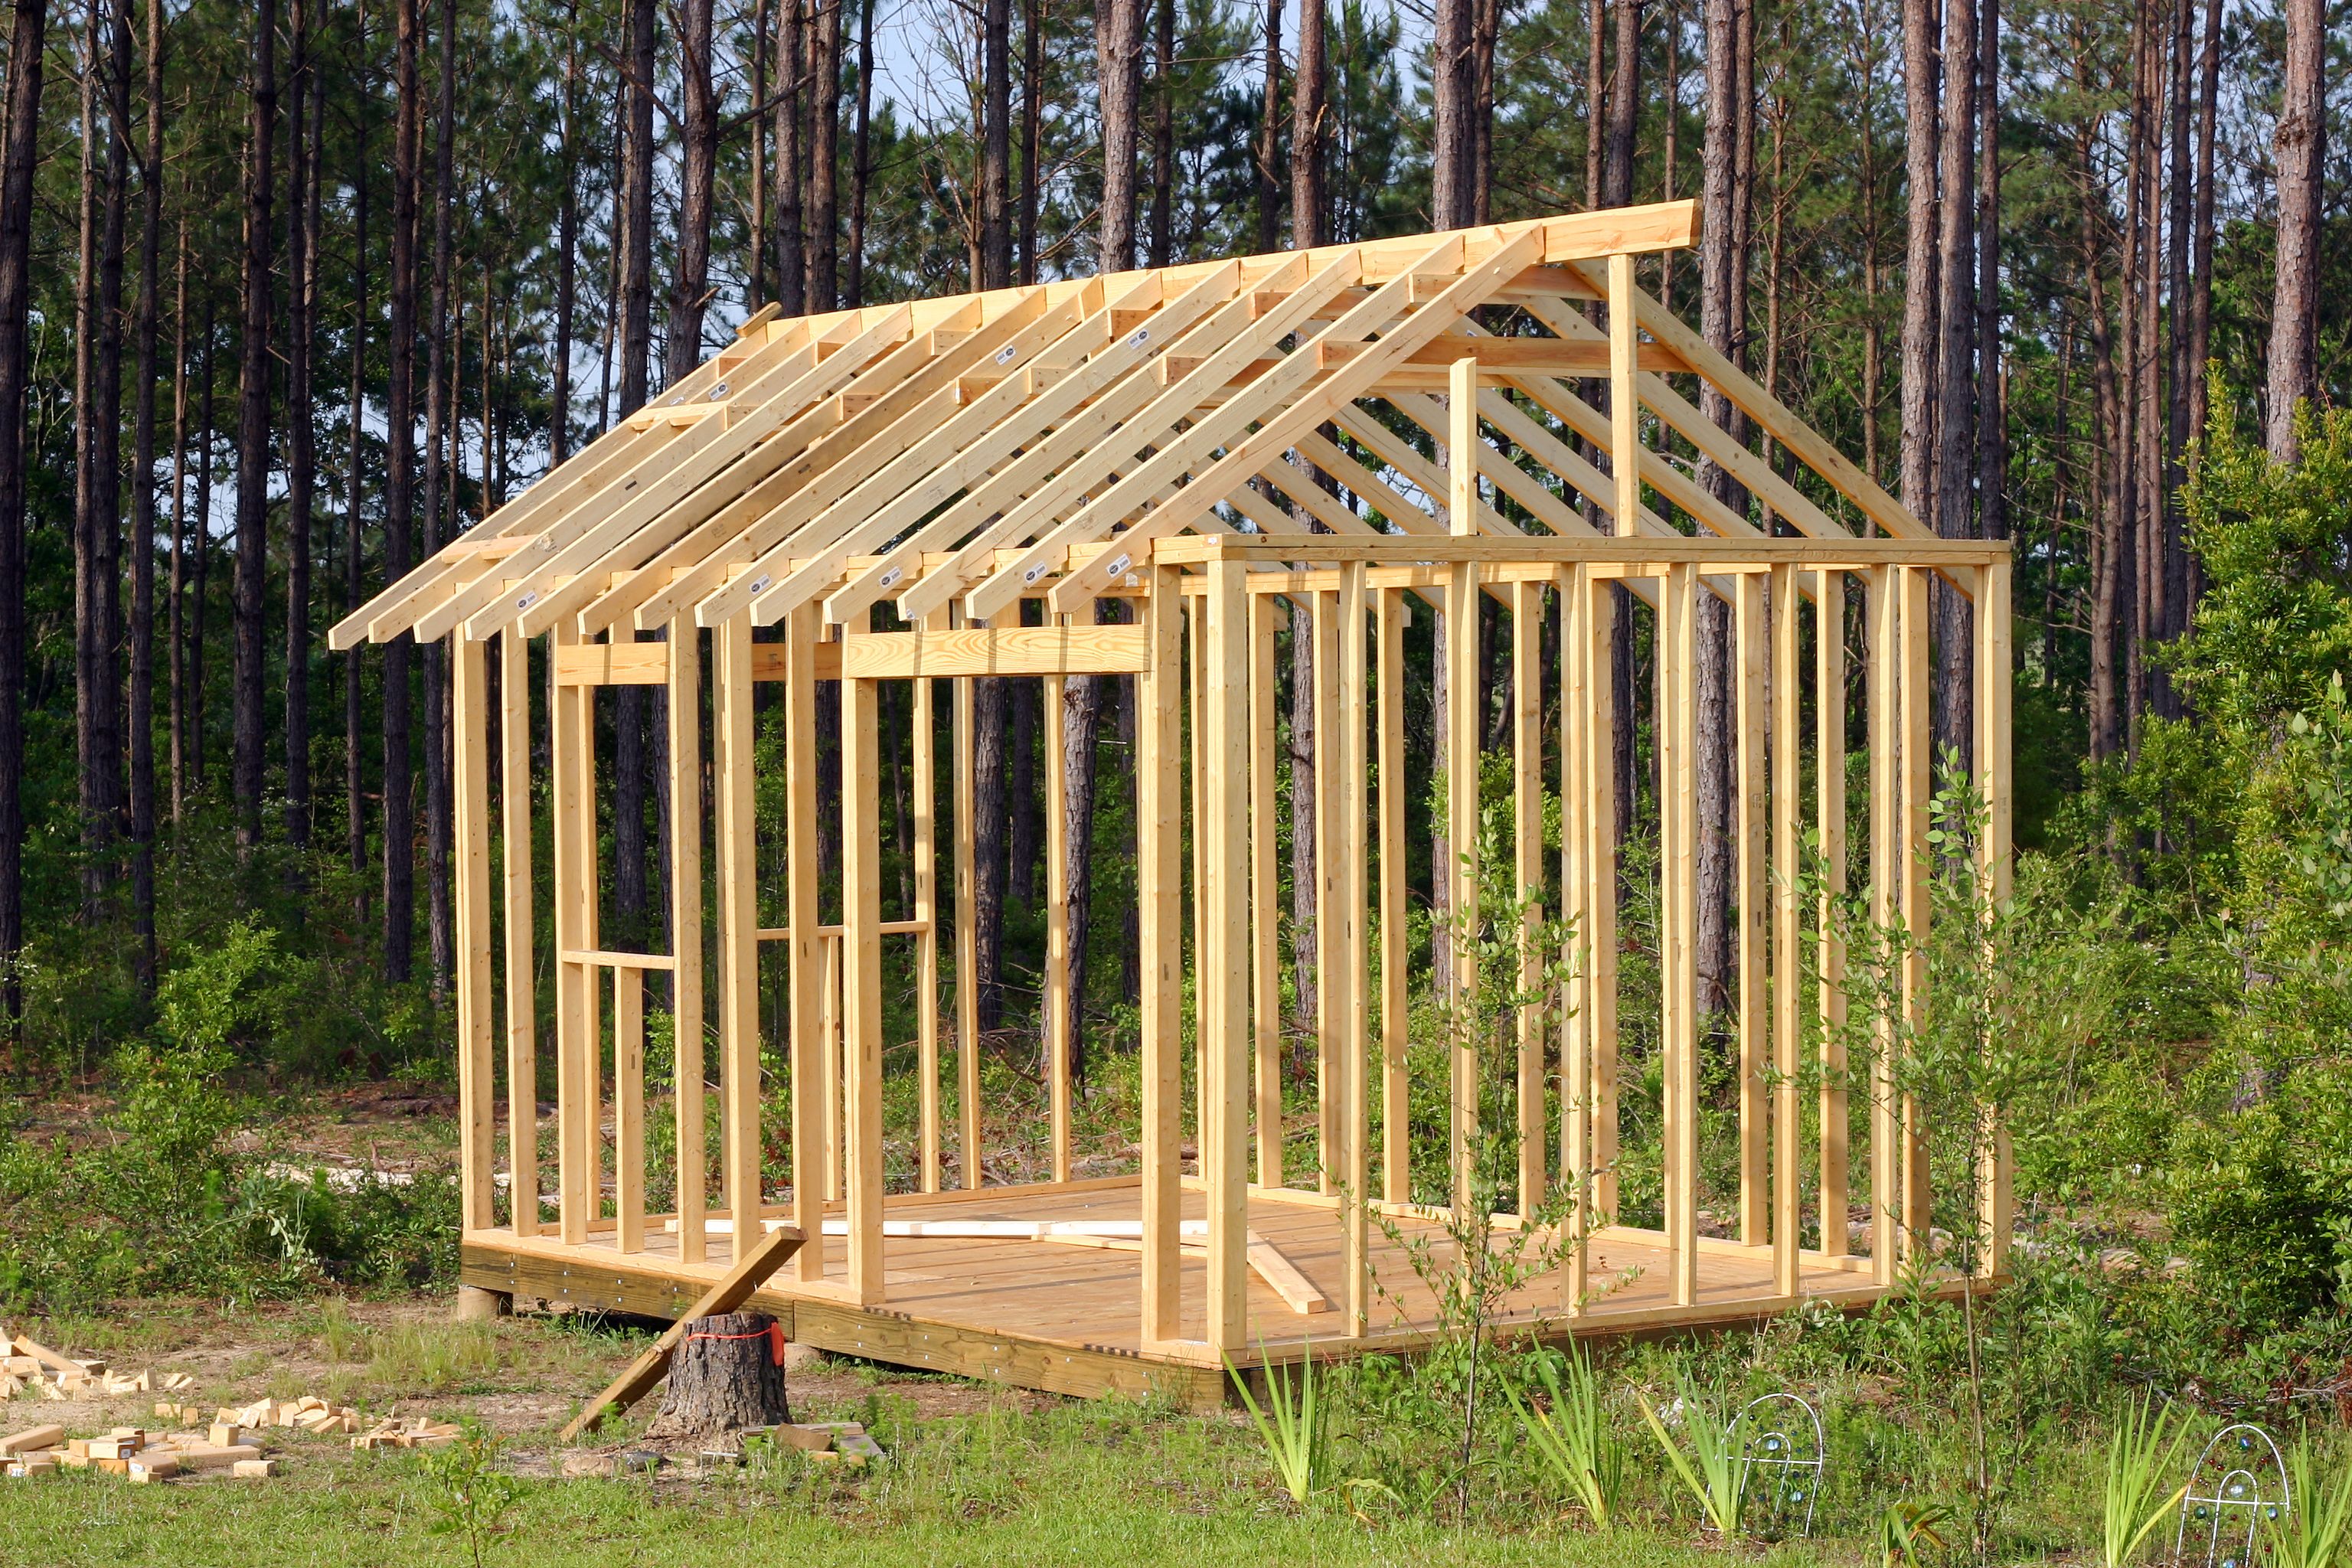
It's crucial to double-check all measurements and use a level during this stage to maintain precision. Properly aligning the walls will prevent structural issues down the line.
Installing the Roof
The roof is another essential part of your garden shed. Depending on your design, you may opt for a pitched or flat roof. Pitched roofs are generally more effective at shedding water, reducing the risk of leaks.
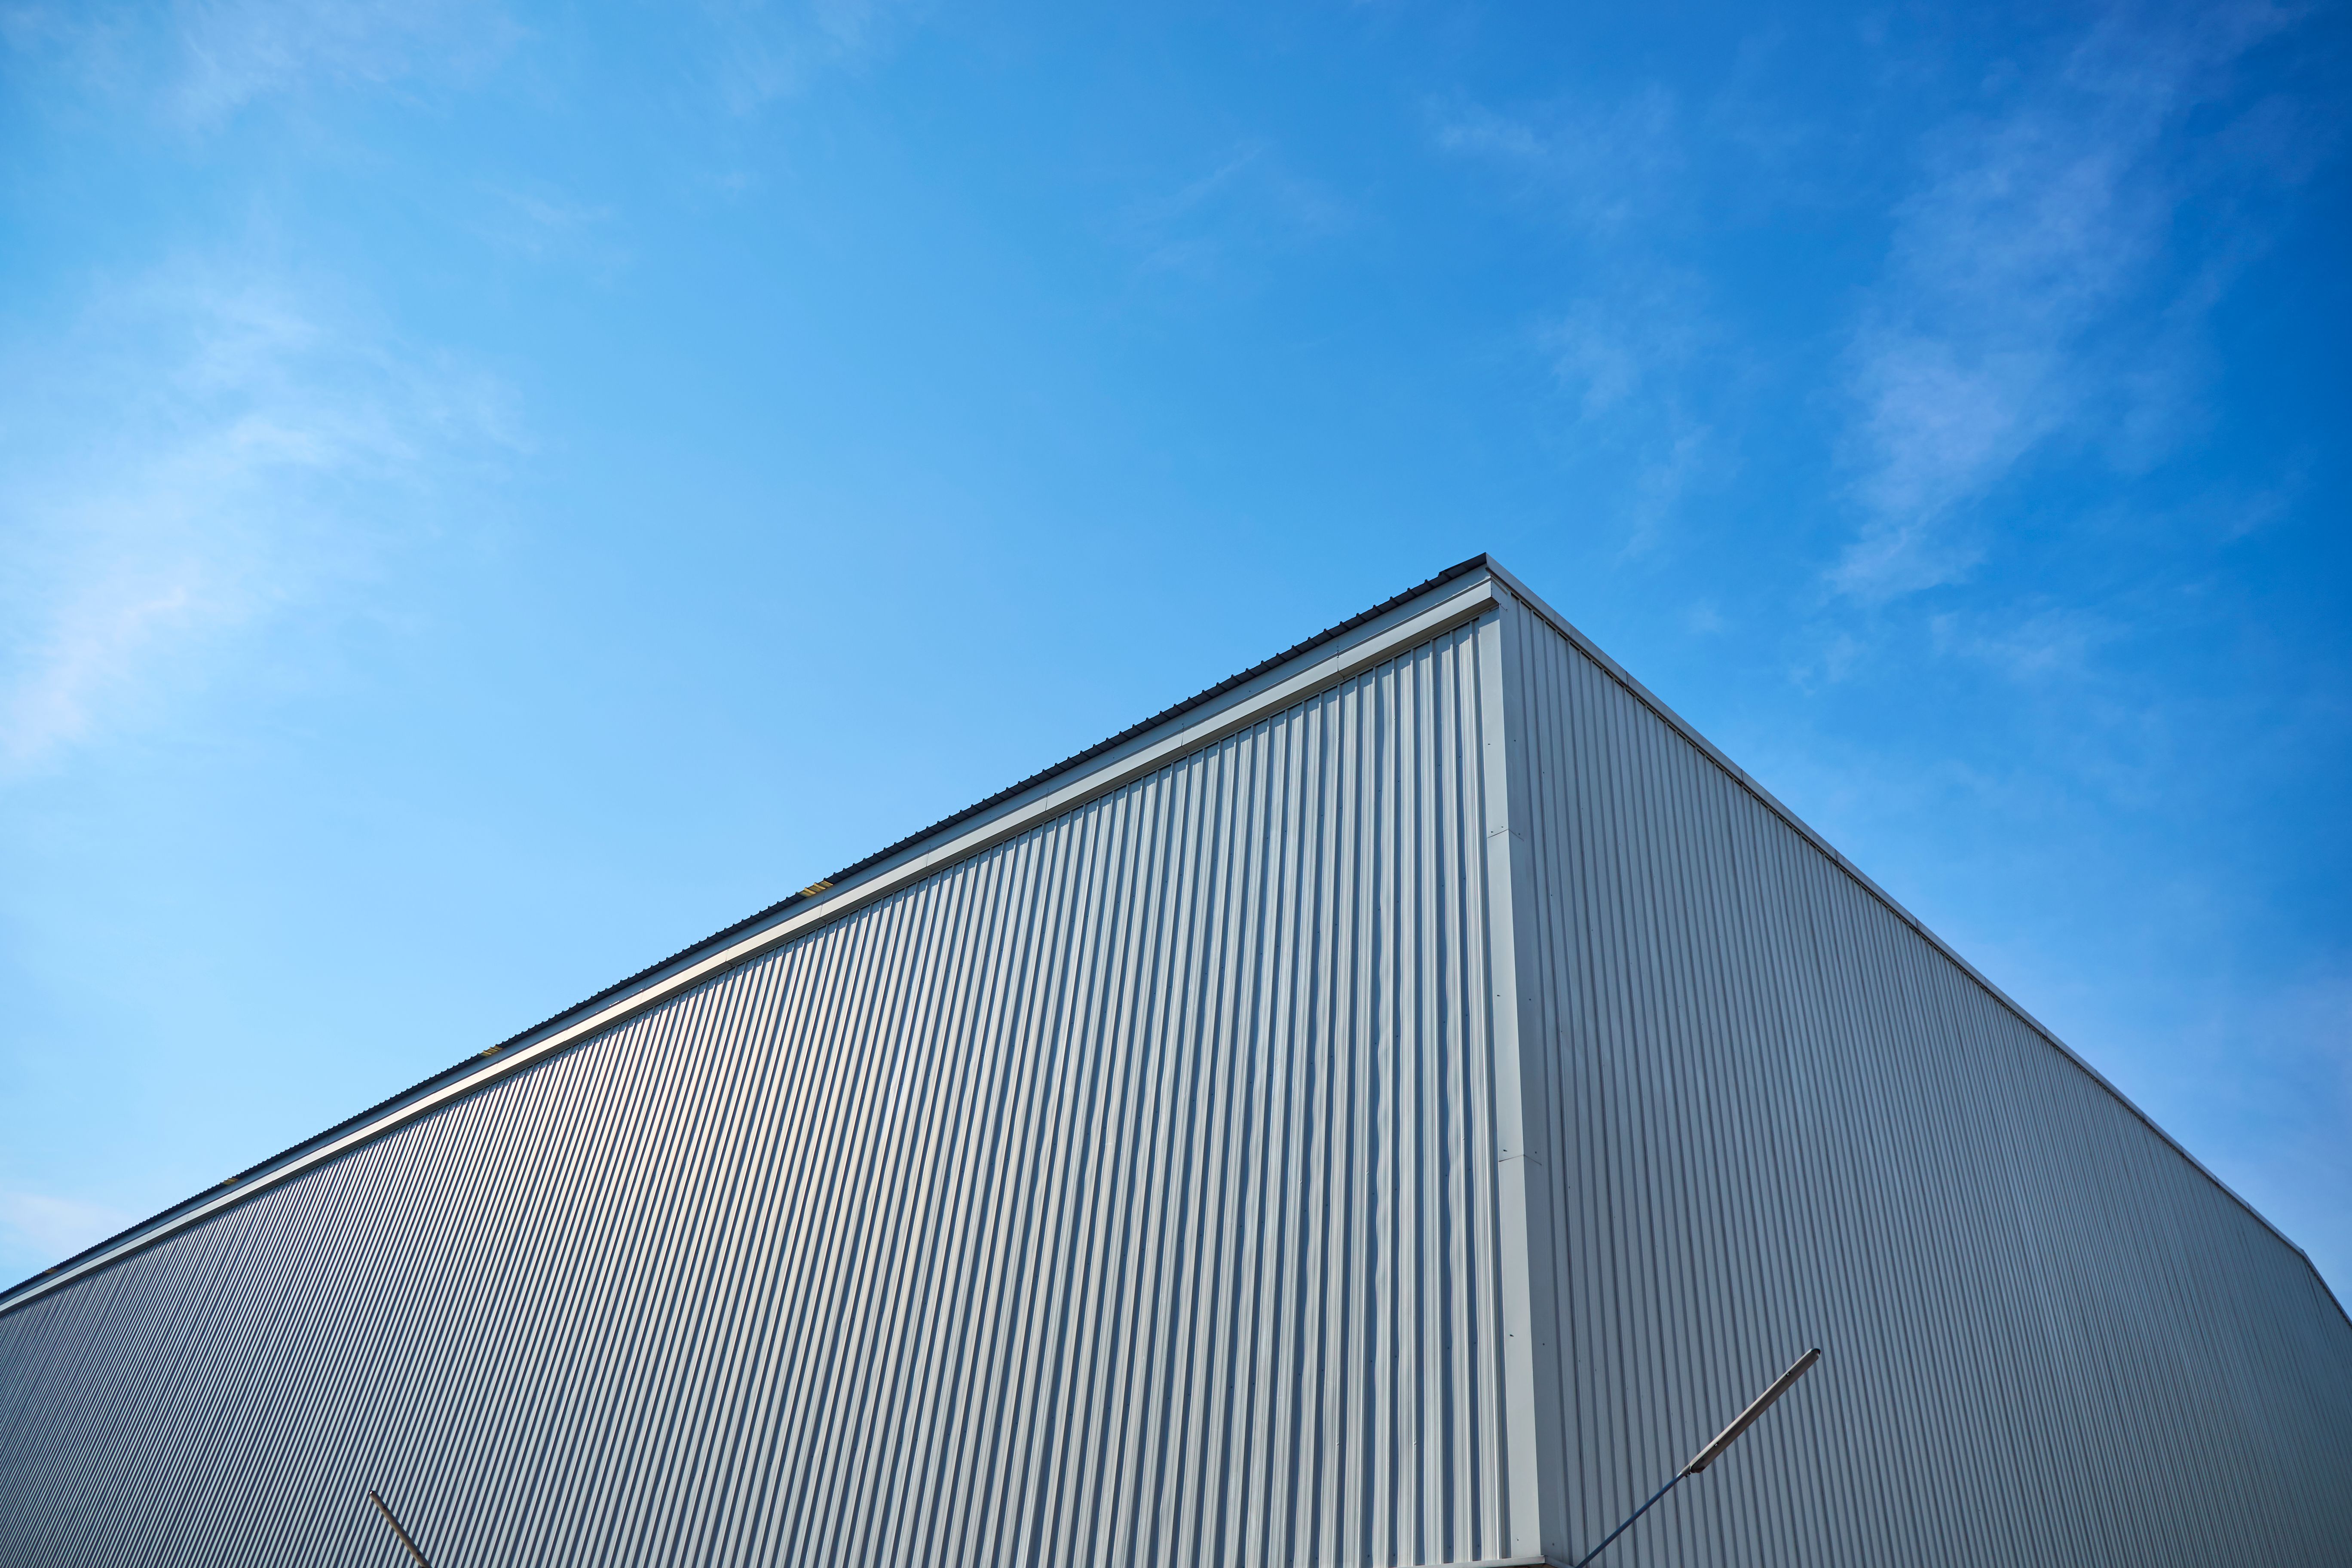
Secure the roof trusses onto the frame and cover them with your chosen roofing material. Metal sheeting or shingles are popular options, each offering different benefits like weather resistance or aesthetic appeal.
Finishing Touches
After constructing the main structure, it's time to focus on finishing touches. Install doors and windows if desired, ensuring they open smoothly without obstruction. Painting or sealing the wood will protect it from moisture and extend its lifespan.
You can also personalize your shed with features like shelving or hooks for tool storage. These additions will enhance functionality and make your shed a pleasant space to work in.
Conclusion
Building a portable garden shed can be a rewarding DIY project that not only boosts your backyard's functionality but also adds charm to your outdoor space. By following these steps and using quality materials, you can create a durable and attractive structure tailored to your needs. Remember, patience and meticulous attention to detail are key to ensuring successful completion of your portable garden shed.